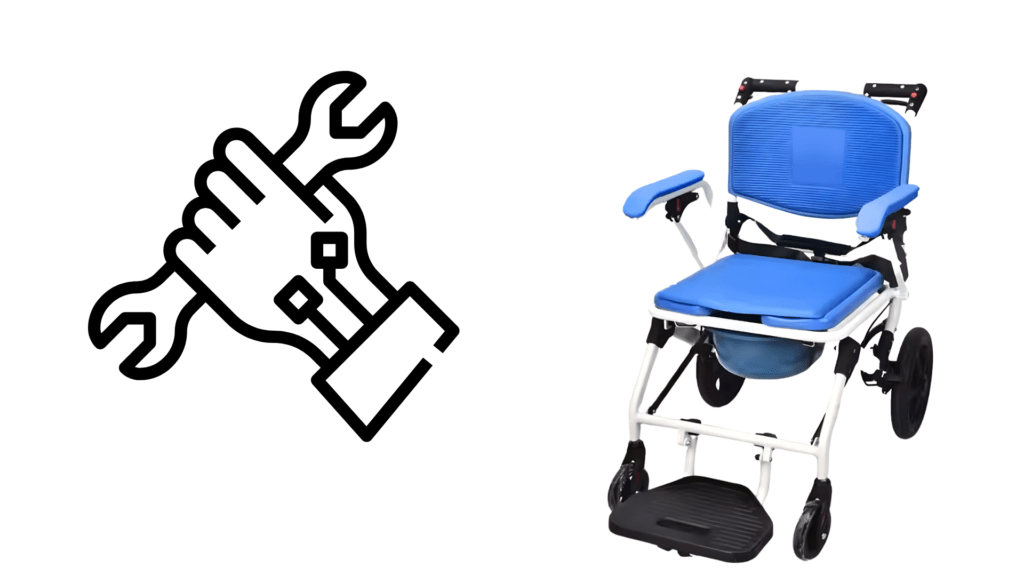
A foldable wheelchair commode might look like something you’d only come across in a hospital setting. However, it’s actually quite practical for home use as well. For those who have trouble walking or standing for long stretches, it can make going to the toilet much safer and easier—especially when getting to the bathroom isn’t always possible or convenient.
If you’re setting one up for the first time, it’s normal to feel unsure about how to begin. But don’t worry—you won’t need any technical background. With a bit of space, a few basic tools, and this straightforward guide, you’ll be able to put it together without much fuss.
Once you’re finished, the commode will be ready for everyday use. And even better, you’ll know you did it yourself, which is always a good feeling.
4. Safety Checks & Maintenance Tips
To keep a commode safe and working properly, a few quick checks and regular cleaning go a long way.
Key Takeaways
- Assembling a foldable wheelchair commode is easy with the right approach.
- Following safety guidelines ensures durability and user comfort.
- Find high-quality wheelchair commodes at Assistive Tech Hub.
1. Understanding the Parts of a Foldable Wheelchair Commode
Before you start putting the commode together, it helps to know what each part is for. Once you’ve got a clear idea of how everything works, the rest tends to fall into place.Key Components
- Frame – This is the main bit that holds the whole thing together. It’s built to be strong enough to support the user, but it also folds up so it’s easier to store or move around when not in use.
- Seat & Commode Bucket – The seat is where the user sits, and underneath it sits the commode bucket. The bucket is there to collect waste and can be taken out without much fuss when it needs cleaning.
- Wheels & Brakes – Not all models have wheels, but many do. They make moving the commode from one spot to another much easier. The brakes are there for safety—to keep the chair still when someone’s sitting down or standing up
- Armrests & Footrests – These parts are there to add comfort and support. The armrests give the user something to hold onto, which helps with balance, especially when getting in or out of the chair. Footrests stop the feet from dangling, which can make sitting more comfortable for longer periods.
Checking the Package Contents
Before you start assembling, open the box carefully and remove all the parts. Place them on a clean, flat surface—like a towel or mat—to stop any pieces from moving around or going missing. Refer to the instruction manual as a checklist and confirm that the following items are included:- Foldable frame
- Seat and bucket
- Armrests and footrests
- Wheels (if provided)
- Screws or bolts
- Tools (if supplied with your model)
2. Pre-Assembly Preparations
Before you begin, double-check that you’ve got all the parts listed in the instructions. Once that’s done, take a moment to set up your workspace properly and make sure the tools you need are close by.Choosing a Proper Assembly Area
Where you set up can make a big difference:- Use a flat, steady surface – Try to avoid working on thick carpets or uneven flooring, as they can make the furniture wobble while you’re putting it together.
- Good lighting – Daylight is ideal, but a decent lamp will do if you’re indoors.
- Plenty of space – You’ll need room to lay everything out and move around without knocking things over.
Gathering Necessary Tools
You don’t need any special equipment—just a few basic tools that are commonly found in most households. Here’s what you should have on hand:- Common tools include:
- Adjustable spanner – Useful for tightening or loosening nuts and bolts.
- Phillips screwdriver – Designed for screws with a cross-shaped (X) head.
- Allen key (hex key) – Sometimes required for bolts with a hexagonal socket.
3. Step-by-Step Assembly Instructions
Step 1: Set Up the Frame
- Start by opening up the frame. It folds out a bit like a camping chair. Open it until it clicks – that sound or feeling means the frame has locked into place.
- Once it’s open, check if it’s steady. Give it a bit of a shake – it shouldn’t wobble. If it does, fold it back down and try again. Sometimes the legs don’t fall into place straight away.
Step 2: Attaching the Seat and Commode Bucket
- Now take the seat and place it on top of the frame. Some seats snap in; others might need screwing in – depends on your model. Make sure it’s on securely before moving on.
- Once that’s done, slide the bucket underneath. It needs to sit right under the seat opening. If it looks off-centre, just take a second to reposition it. You don’t want any gaps there.
- If your bucket has a lid, keep that close. You’ll need it once the commode’s in use.
Step 3: Installing Armrests and Footrests
- Have a look at the frame and find the slots where the armrests need to go. You’ll see the fittings line up in a certain way — just line them up properly, then press down firmly. You should feel or hear a click when they’re in the right place.
- Once that’s done, move on to the footrests. These usually either clip on or swing into place, depending on the type. Fit them how they’re meant to go, then give each one a light tug to check they’re held securely.
- If anything feels loose or like it might fall off, it’s best to take it off and try again. It’s far better to catch it now than to have it come undone while someone’s actually using the chair.
Step 4: Fixing the Wheels and Brakes
- If your commode comes with a wheels, attach them securely to the base of each leg using the screws or bolts provided in the box. Once attached, ensure the brakes operate correctly. Depending on what’s included, you’ll either need a spanner or a screwdriver to get the job done.
- Once the wheels are on, give each one a spin to make sure it moves smoothly. Then test the brakes by pressing each one down. The wheel should lock in place and not move. If any of the brakes don’t hold properly, tighten them up a little until they do. Don’t go too far—just enough so they feel secure.
Step 5: Adjusting for Comfort & Safety
- Now that everything is assembled, check it over. Are all the screws tight? Does anything feel loose?
- Some commodes let you adjust the height. Raise or lower the seat depending on who will use it. The person should be able to sit down and stand up without struggling.
- Always finish by doing one last “wiggle test.” Lightly shake the frame. If it stays still, you’re good to go.
4. Safety Checks & Maintenance Tips
To keep a commode safe and working properly, a few quick checks and regular cleaning go a long way.
Testing the Stability
- Sit on it (or have the person using it do so).
- Make sure the legs are stable and don’t wobble.
- Check that the frame feels strong and secure.
- If it has wheels, test the brakes to be sure it stays in place.
Routine Maintenance Tips
- Empty and wash the bucket every day using warm water and a bit of mild soap.
- Wipe the seat and frame with a disinfectant cloth or spray.
- Look over the commode once a week—keep an eye out for cracks, rust, or anything loose.
- Tighten any loose screws right away so it stays safe.
Conclusion
A foldable wheelchair commode is a great solution for mobility challenges, and assembling it yourself is a rewarding task. Just follow these easy steps, stay safe, and you’ll have a sturdy, functional commode ready in no time!
For high-quality wheelchair commodes and more assistive tech products, check out our offerings at Assistive Tech Hub.