The installation of foldable shower chairs is simple and quick, designed to provide users with a hassle-free setup. This guide will walk you through the essential steps to properly install your foldable shower chair, ensuring it’s safe and functional for use.
Importance of Correct Installation
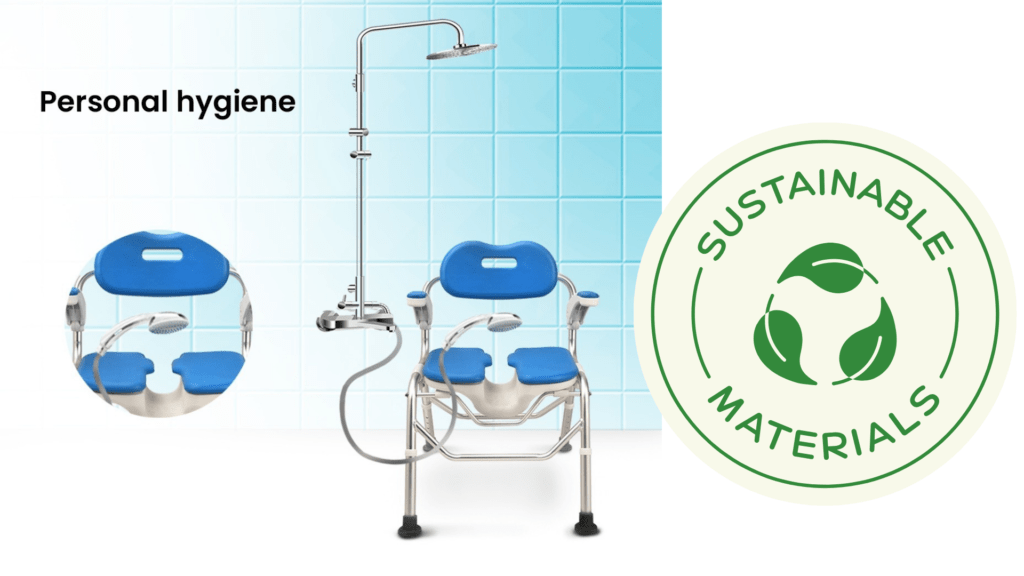
Proper installation ensures the chair remains stable and safe for use in wet environments, offering both comfort and durability.
Learn more about foldable shower chairs here.
1. Unboxing and Preparing Your Foldable Shower Chair
Inspecting the Package
- Remove the chair from its packaging and check that all parts are included (legs, seat, backrest, arms, etc.). Refer to the manufacturer’s manual for a complete list of components.
- Check for any signs of damage or defects. If any parts appear damaged, contact customer service immediately.
Setting Up a Safe Workspace
- Choose a flat, clean surface for assembly to make the process easier and avoid losing any parts.
- Contact Us if you encounter any issues with the product.
2. Identifying Chair Parts
Understanding the Components
- Identify each part of the foldable shower chair, such as the frame, armrests, seat, backrest, and rubber feet.
- Note the materials of each component, like aluminum for the frame, plastic for the seat, and rubber for non-slip feet.
Understanding Adjustments
- Familiarize yourself with adjustable features like height settings or removable parts.
- Explore adjustable foldable shower chairs here.
3. Assembling the Frame
Attaching the Legs
- Securely attach the legs to the chair frame. Use the provided tools to tighten bolts if necessary.
- Tip: Ensure all legs are fully locked into place before proceeding.
Adjusting the Height
- Adjust the legs to your desired height using the built-in adjustment mechanism.
- Check that all legs are evenly adjusted to prevent wobbling.
Safety Tip: Proper height adjustment ensures stability and safety.
Shop a wide range of foldable chairs with adjustable heights here.
4. Attaching Armrests and Backrest
Armrest Installation
- Fit the armrests into their designated slots on the frame. Make sure they securely click or lock into place.
- Safety Tip: Verify that the armrests are firmly locked to provide reliable support.
Backrest Setup
- Attach the backrest to the frame securely, whether through screws or clips, depending on the model.
- Adjust the backrest to the desired angle if the model allows.
Explore models with straightforward assembly for armrests and backrests.
5. Adding Non-Slip Feet
Installing Rubber Feet
- Attach the rubber feet or suction cups to the legs for grip and stability on slippery surfaces.
Positioning for Maximum Stability
- Place the chair on a flat surface to ensure the legs and rubber feet are evenly aligned.
Testing for Non-Slip Safety
- Push gently on the chair to confirm that it does not slide or move. Non-slip feet are crucial for safe use.
Discover premium non-slip options in foldable shower chairs here.
6. Checking for Proper Functionality
Testing the Folding Mechanism
- Practice folding and unfolding the chair to ensure it operates smoothly. This also makes storage easier.
Confirming the Stability
- Sit on the chair to test its sturdiness. Adjust if the chair wobbles or feels unsteady.
Final Check
- Inspect all parts to ensure everything is securely installed and functional.
View chairs designed for reliability and ease of use here.
7. Maintenance and Safety Considerations
Regular Maintenance Tips
- Clean the chair regularly with a mild cleaner, focusing on the seat, backrest, and legs.
- Check for any loose screws or worn-down rubber feet. Tighten or replace parts as needed.
Safety Tips for Long-lasting Use
- Ensure the rubber feet are in good condition for slip resistance. Replace them if they show wear.
- Avoid exceeding the chair’s weight capacity and store it in a dry place when not in use.
For more advice on maintenance, visit Assistive Tech Hub.
8. Troubleshooting Common Issues
Wobbly Legs or Instability
- Identify unequal leg lengths or loose fixtures. Adjust and recheck the height settings.
Difficulty Folding
- Check for obstructions in the folding mechanism. Apply silicone-based lubricant to ease stiffness if necessary.
Discomfort During Use
- Adjust the chair’s height and angle for a better fit. Consider adding padding for extra comfort.
For troubleshooting support, reach out to our team.
9. Conclusion
Final Thoughts
By following this guide, your foldable shower chair setup will be hassle-free, safe, and ready for immediate use. Proper installation and maintenance will ensure it remains durable and comfortable for years to come.
Call to Action
Visit Assistive Tech Hub today to explore a variety of foldable shower chairs that meet your needs!