Easy Installation Guide for Foldable Steel Side Rails
Step-by-step instructions to ensure safety and ease of use
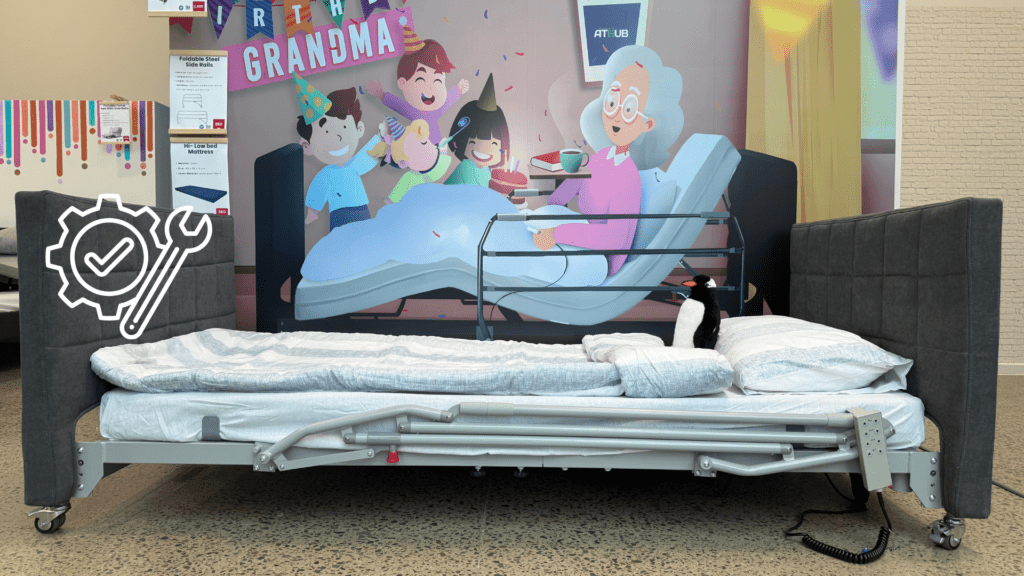
Setting up foldable steel side rails doesn’t have to be tricky. Whether you’re installing them at home, in a care facility, or a hospital, this guide will walk you through the process. Correct installation ensures the rails do their job—helping to prevent falls, adding comfort, and giving peace of mind.
Check out the Foldable Steel Side Rails product page for more details.
1. Preparation and Safety First
Get ready with the right tools and safety gear
Before you begin, make sure you have the following items on hand:
- Adjustable wrench or spanner
- Screwdriver
- Tape measure
- Spirit level
- Safety gloves and glasses
Safety tips:
- Ensure the bed or frame is stable and flat before starting.
- Clear the area of any clutter to prevent accidents.
- Always wear gloves and glasses while working.
Need tools or accessories? Visit Assistive Tech Hub for recommendations.
2. Unbox and Check What’s Inside
Ensure you have all the parts needed
Open the box carefully and check that all components are present and undamaged:
- Steel side rails
- Mounting brackets
- Screws and bolts
- Safety locks or latches
Do a quick quality check to make sure nothing’s missing or damaged. If there are any issues, contact us for assistance.
Looking for other safety gear? Browse our store for related products.
3. Pick the Right Spot
Choose the best place for installation
Select a bed or platform that is solid and flat. The rails should be positioned where the user can easily reach them, without interfering with bed adjustments.
Tips for setup:
- Keep the rails clear of moving bed parts.
- Consider user comfort—rails should be easily accessible without restricting movement.
4. Mount the Brackets
Get the brackets securely attached to the bed frame
- Find the mounting points on the bed frame—typically near the head and foot or along the sides.
- Align the brackets and secure them with the screws or bolts provided.
- Use a spirit level to ensure they’re straight and even.
- Measure both sides to make sure everything is aligned.
Not sure where to install the brackets? Contact us for step-by-step guidance.
5. Install the Rails
Attach the side rails and ensure a secure fit
- Slide or hook the rails onto the brackets (depending on the model).
- Double-check that the rails are securely fastened.
- Lock them into place using any patches or pins provided.
- Test the folding feature to ensure smooth movement and secure locking.
See product details for specific installation instructions.
6. Final Checks for Safety
Double-check everything before use
- Adjust the height if your model allows it.
- Gently push on the rails to check for any wobbling.
- Ensure all locks click securely into place.
- Clean the rails with a soft cloth before use.
7. Maintenance Tips
Keep your side rails in top condition with regular care
- Tighten loose screws or bolts as needed.
- Inspect the locking mechanisms regularly for wear and tear.
- Clean the rails with mild detergent and a soft cloth—avoid harsh chemicals.
- Lubricate the foldable joints occasionally to keep them working smoothly.
8. Troubleshooting Common Issues
Quick fixes for common problems
- Wobbly rail? Recheck screws or use longer bolts for extra hold.
- Locks not working? Clean out any debris and realign the brackets.
- Rails won’t fold? Lubricate the joints and inspect for blockages.
Need help? Visit Assistive Tech Hub for expert support and tips.
9. Conclusion
Proper installation is key for safety and ease of use
Follow these simple steps, and you’ll have your foldable steel side rails set up quickly and safely. If you need further assistance or advice, don’t hesitate to reach out.
Ready to set up your side rails? Visit the Assistive Tech Hub Store for quality side rails and accessories.
Have questions or need personalised help? Contact us—we’re here to support you.